IMPORTANT: Soilless media--such as potting soil or planting mixes, or organic material that contains less than 50% native, mineral soil is NOT considered soil and should NOT be submitted to the soil testing lab. Please submit under Soilless Media Analysis.
Soil Sampling Guidelines
Materials Needed
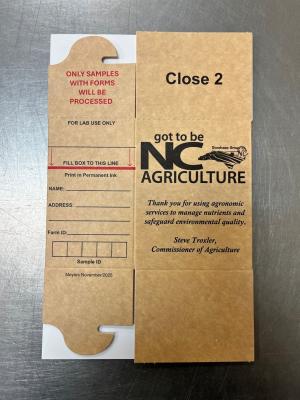
- Official NCDA&CS soil box (available at the Agronomic Services Division office in Raleigh or your local Cooperative Extension office)
- Clean, plastic bucket
- Soil probe, shovel, spade, or garden trowel
Important Note: Do not use brass, bronze or galvanized tools (including buckets) as they can contaminate your sample.
Sample Collection
Collect a slice or core of soil (see table below for sampling depth) from 8 to 10 random locations across the lawn or garden. If you are diagnosing a nutrient problem, sample within the plant’s root zone and include samples from both healthy and problem areas when possible.
- Combine the soil cores in a clean plastic bucket, break up clumps, and mix thoroughly.
- Before assembling and filling the soil box, label it using pencil or pen with waterproof ink. Include all required information, especially a sample ID that identifies where the sample was taken.
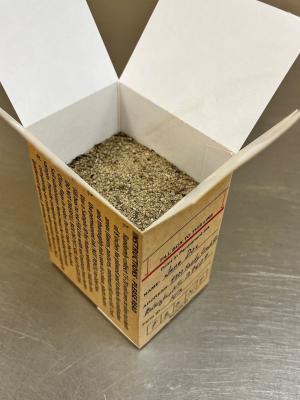
- Fill the soil sample box to the red line with the mixed soil.
- One sample is usually sufficient for each distinct area. If you are growing plants with different nutrient needs, collect and label separate samples for each area using clear IDs such as FRONT, BACK, SIDE, or BLUEB (for blueberries).
- Follow important instructions on the Submit Samples page.
Soil Sampling Depth
| Crop | Sampling Depth |
|---|---|
| Established lawns | 4 inches |
| Vegetable gardens | 6 to 8 inches |
| Shrubs and Trees | 4 to 6 inches |
Sampling Tips
- Do not collect soil when it is too wet. If the soil is too wet to till or plant, it is too wet to sample. Wet soil can weaken the sample boxes and cause damage during shipping.
- Place soil directly into the sample box—do not put soil in a bag inside the box. Make sure the bottom flaps are pushed flat to prevent spillage.
- Do not tape the sample box shut. When filled and packed correctly, the box does not require tape.
What NOT to Do
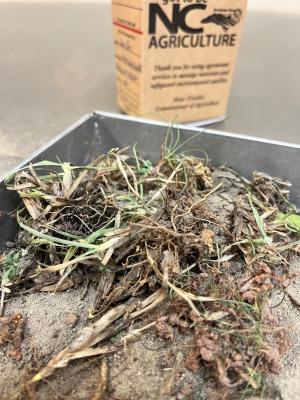
This sample contains excessive plant debris. It cannot be analyzed.
This page was last modified on 05/12/2026